
If you’ve heard of the terms tailor’s ham and sausage but have no idea what they are, or how to use them, you are not alone. They are very easily overlooked and undervalued but will change the look and finish of your garments when used in the right ways. I’ll be explaining why the tailor’s ham and sausage are both useful tools to have as part of your sewing kit, and giving my 5 top tips on how to make the best ham and sausage out of your scraps, and how to maintain them so that they last a long time.
What Are They?
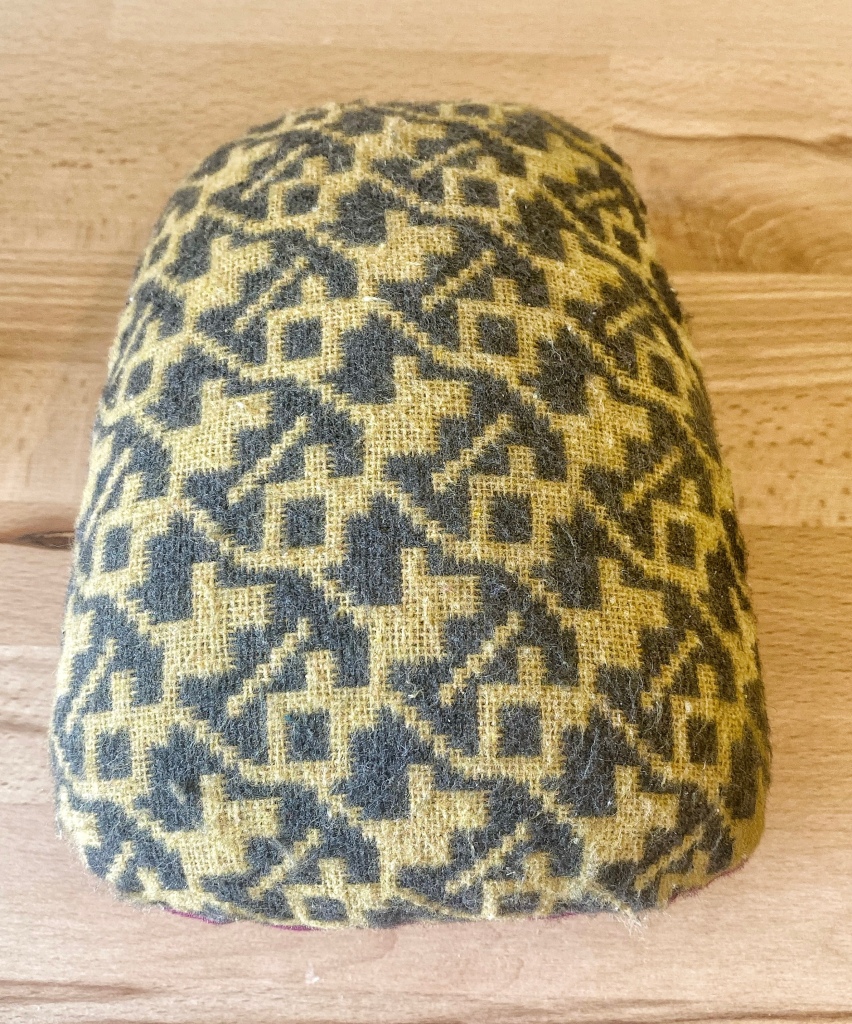
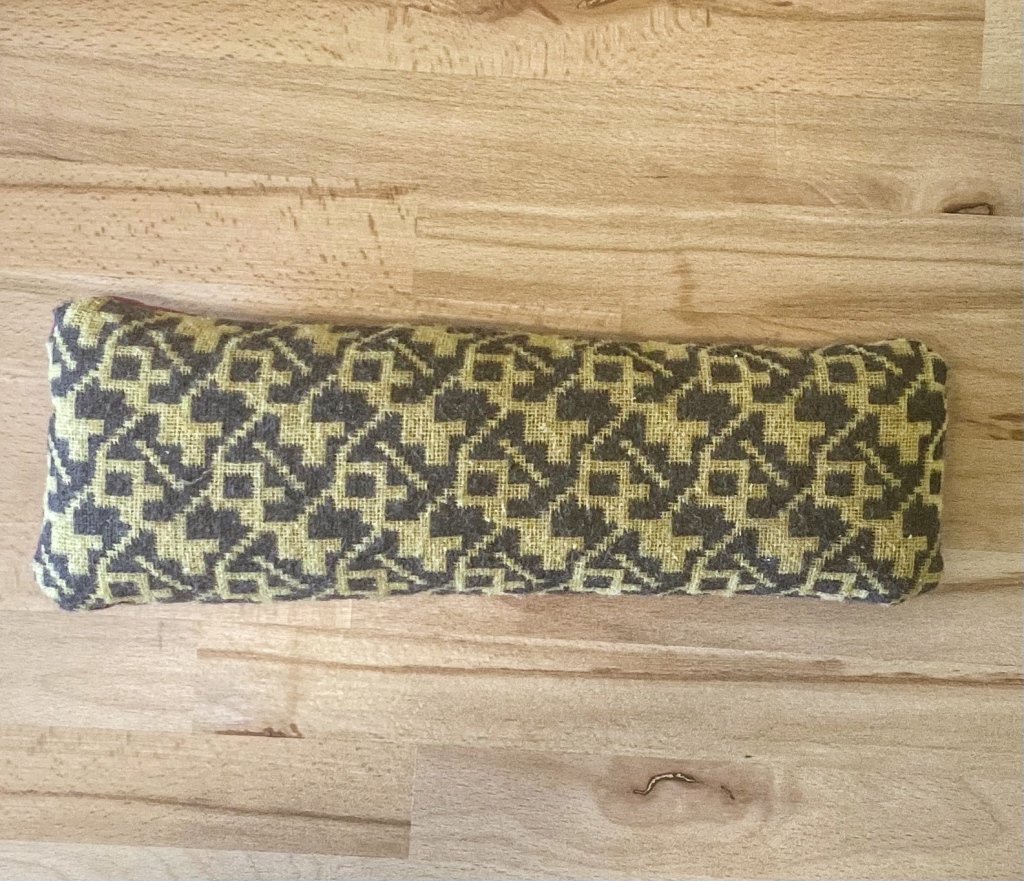
A tailor’s ham (also known as a pressing ham) and sausage (also known as a sleeve roll) are sewing tools used to press curved seams during garment construction. Fabric is 2D but our bodies are 3D and when we are constructing our garments, we want them to fit and conform to our bodies as best as possible. The curved edges of the pressing ham and sleeve roll help the fabric to conform to the curvature of our bodies, by allowing curved seams to hold their shape, therefore giving a better fit and finish to your garments.
Do I Need Them?
They aren’t an essential part of a beginner sewing kit and it is possible to start and progress through your sewing journey without using them. However, once the many uses of these sewing aids become clear and you realise how they can elevate the finish of your completed garment, you’ll definitely want to add them to your sewing kit.
A pressing ham is used for shaping and moulding collars, darts, sleeve heads (strips of batting or thick fabric that lift and support the sleeve at the shoulder/sleeve cap), hip curves and bust fullness. They can also be used to prevent turned seams from showing when pressed, and for roll pinning corsets (the process of creating even tension, minimising wrinkles and contouring the multiple layers of fabric used to construct corset panels).
Sleeve rolls are used to press long or difficult to reach seams that are located in either the sleeves, or narrow and hard to reach areas of your garment. They get to all of the places that a pressing ham cannot because of its large size and width. Sleeve rolls can also be used to press gathers, leaving them looking full and bouncy.
How Are They Used?
1) Choose the appropriate side of your pressing ham/sleeve roll to use (wool side or cotton side) according to your fabric. If your pressing ham/sleeve roll is cotton on both sides, it won’t matter which side you use.
2) Place your pressing ham/sleeve roll onto the ironing board.
3) Put your curved seam over the top. Make sure the seam is in the position in which you want it to be set. It must follow the shape of the ham, so that it gives an accurate press and creates a wrinkle-free finish.
4) To prevent the fabric from moving around or slipping, hold the pressing ham/sleeve roll and the fabric steady and taut, on the side that is away from the hot iron.
5) Press your seam.
Where Can I Find Them?
They are available in any fabric store or haberdashery, both online or in-store, but I encourage you to make your own. Not only are they very simple to make, they are also great scrap busters! Here are my 5 top tips for making your pressing ham and sleeve roll, and maintaining them so that they last a long time.
1. Filling
Traditionally, pressing hams and sleeve rolls are stuffed using sawdust, for longevity. They remain firmer for longer because the sawdust does not compress with prolonged use in the same manner as other fillings, such as fabric scraps or wool batting. That is not to say that you cannot use wool batting or fabric scraps to fill your pressing ham or sleeve roll. It simply means that you will have to fill them much tighter. Also, be mindful that at some point you will need to use additional filling to pad them out again, sooner than you would when using sawdust.

Using fabric scraps is an economical filling because you will naturally accumulate them in most of your sewing projects. If the thought of throwing away fabric fills you with horror, no matter how small a piece it may be, then this is the project for you! Filling pressing hams and sleeve rolls will use up a lot of your fabric scraps, so you will easily put them to good use. Be sure to only use natural fibres when using fabric as the filling. This prevents your fabric filling from melting when pressing seams at a high temperature.

2. Fabric
You will find that most pressing hams and sleeve rolls have a side that is 100% wool, and another that is 100% cotton. The wool side is used to press seams on wool. I also use it for delicate fabrics that require lower temperatures. The cotton side is used for fabrics that can be pressed at high temperatures. You can use 100% cotton on both sides if you wish. Whatever you decide, make sure the cotton or wool used has a tight weave, because the pressing ham and sleeve roll will need to be tightly and firmly filled.
3. Lining
The lining will add an extra layer that contains and protects your filling, and helps your sewing tools to last even longer. Lining the pressing ham/sleeve roll isn’t a requirement but if you choose to do so, use 100% cotton.
4. Thread
The seams of the pressing ham and sleeve roll will have to withstand a lot of strain through regular use, and because they need to be tightly filled. Use a strong thread to sew your fabric together. I used thread that was suitable and strong enough for the sewing of jeans because I had some to hand. You can also use your usual sew-all thread, but sew a second line of stitching around the circumference of the pressing ham/sleeve roll, approximately 3-5mm away from your original stitching (very close), to reinforce and strengthen the seam.

5. Cleaning and Maintenance
Gently rub your hand over the surface of your pressing ham or sleeve roll to remove dust and loose threads. You can also use a lint roller. You do not need to put the pressing ham or sleeve roll in the wash. It’s best to surface clean them with a damp cloth every so often to avoid the build-up of dirt, then leave them to air dry. Do not put large amounts of water on them or leave them in a damp environment as this will encourage mold and mildew to grow, therefore making them unsafe to use. Should you notice the signs of mold or mildew on your pressing ham or sleeve roll, they should be replaced immediately.
Summary
There are many tutorials available on how to make a pressing ham and a sleeve roll that you can follow, and free patterns that you can use. Two of the most popular tutorials with simple and clear instructions are by Tilly and the Buttons, and Twig and Tale (I used T+T’s free pattern to construct my own pressing ham and sleeve roll). It is worth noting that the free patterns available online are to be used solely for personal use. So, if you really enjoyed the process of making your own sewing aids and wanted to start selling them, you’ll need to create your own template. I really hope that you have found this information useful. I’ll be back soon with more tips on how to sew savvy.
