Everybody Needs a Pillowcase for a Pillow

My first attempt at making bedding.

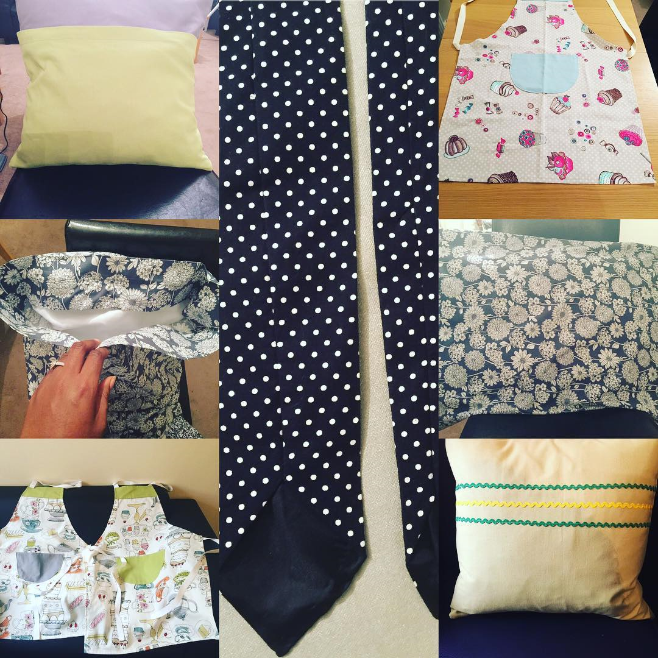
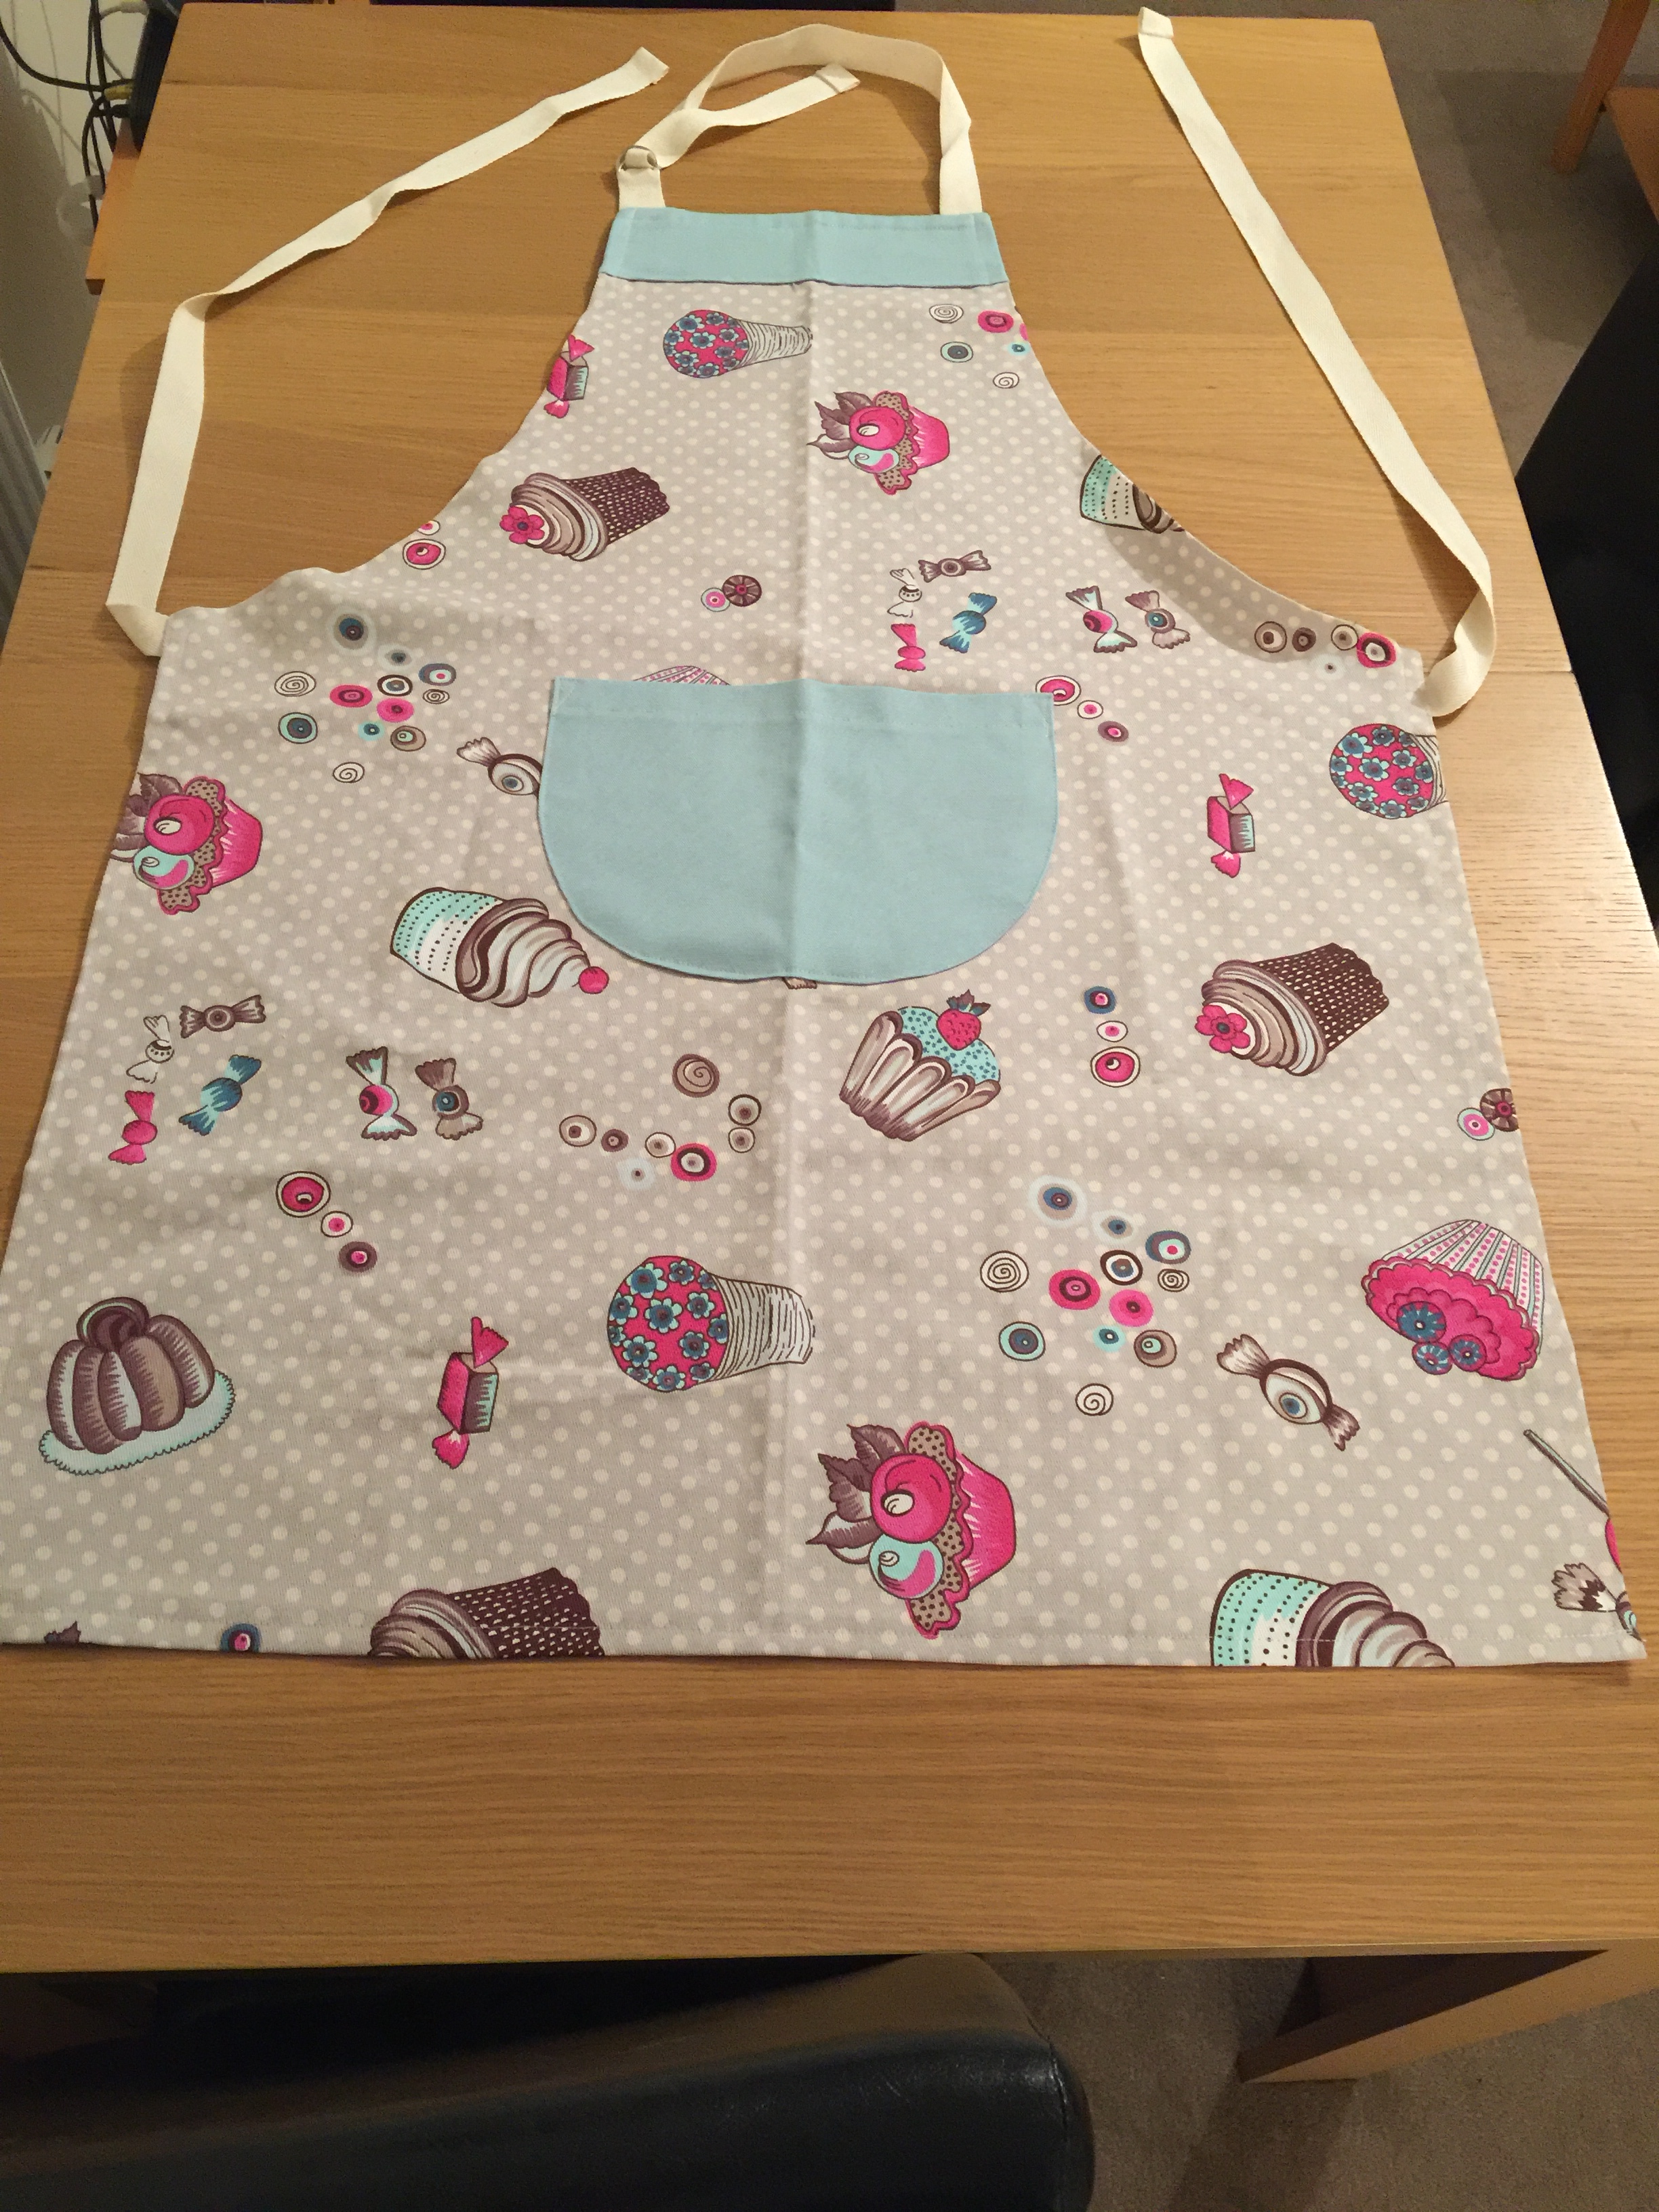
Pillowcases were my next project, after finally completing the two aprons – my labour of love. I am planning to give my mum a collection of my sewing achievements as part of her Mothers’ Day present on 26th March. She is so thrilled that I have finally decided to take up sewing and is eager to see some of my projects, so I’m making an extra special effort to complete a few simple projects that I can do to the best of my abilities and make some special gifts for the special lady in my life.

So far, my mum can expect 1 cushion and 1 apron. Now there are 2 pillowcases that have been added to the collection. Making the pillowcases was the first time that I independently found a project to create, that I hadn’t already completed in a sewing class. I looked for a simple and easy to follow tutorial on YouTube and stumbled across the vlog, ‘MADE Everyday’.

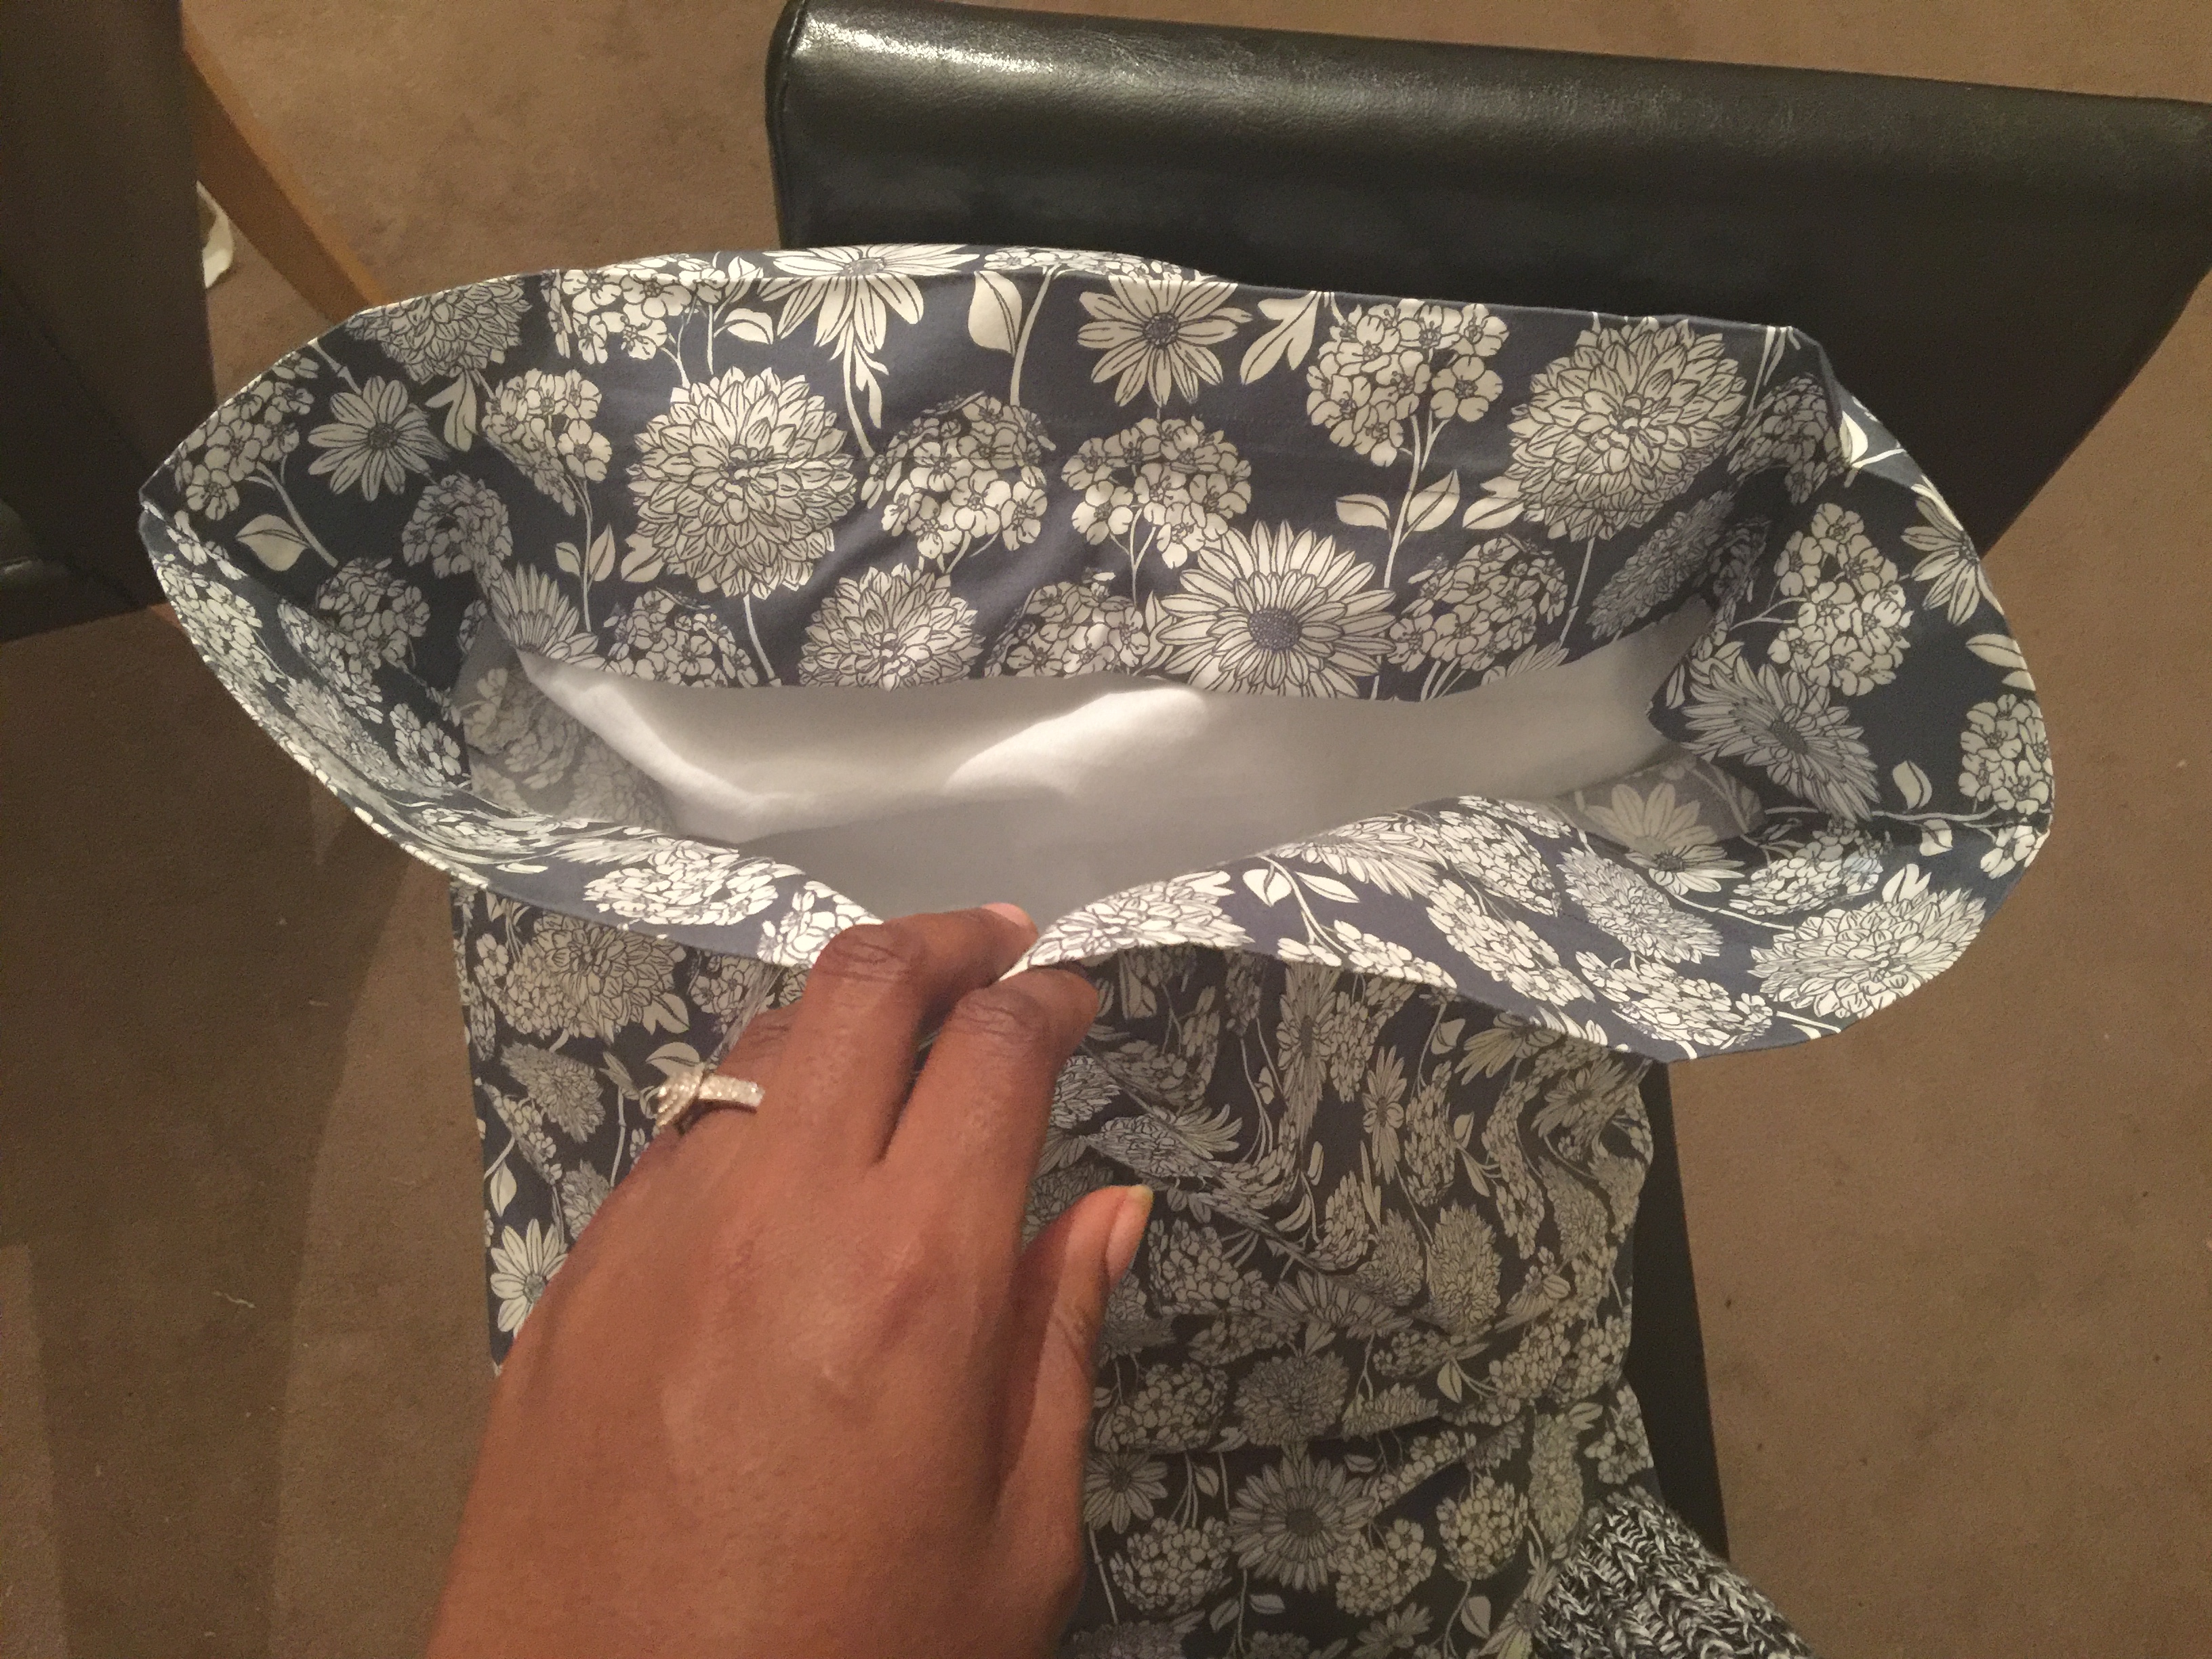
Overall, the tutorial was very easy to follow and this vlogger is really upbeat and encouraging, without sounding patronising or condescending. There were times in the video when I had to rewind and go over steps that I was unsure of, however, I was able to create not 1 but 2 pillowcases in the space of an hour. The instructions were clear and the vlogger sews the pillowcases during the video, which was helpful for me to watch her technique and attempt to emulate it. The pillowcases that are created in the video do not have the inside, overlapping fabric that covers the end of the pillow. Following the tutorial to a ‘T’ will leave you with a very basic pillow covering, which is great if that’s the look that you are going for.

I, however, wanted a pillowcase in the true sense. This meant me scrutinising one of my own pillowcases to ascertain exactly how it had been sewn together, then making a few adjustments to my project, in order to create the overlapping fabric to cover the end of the pillow. It was a very simple alteration and the result was very effective. The amount of fabric used leaves more than enough room for slightly larger/bulkier pillows. Less fabric can be used than is recommended in the tutorial, in order to give a snug fit to a standard sized pillow. I liked how the pillows looked with the use of slightly more fabric, so I would keep to the same amount of fabric the next time that I make pillowcases.

IMG_2887
Pillowcase
IMG_2890
Pillowcase interior

For such a simple project, I made quite a few mistakes, but this is simply down to my status as sewing newbie. I am still perfecting all of the ‘easy’ skills that intermediate and advanced sewists take for granted. Another problem of mine is following instructions to a ‘T.’ My biggest problems came when making the second pillowcase. I thought that I knew all of the steps and could easily recall what should happen next, therefore I tried to make the pillowcase without the aid of the video…..EPIC FAIL!!

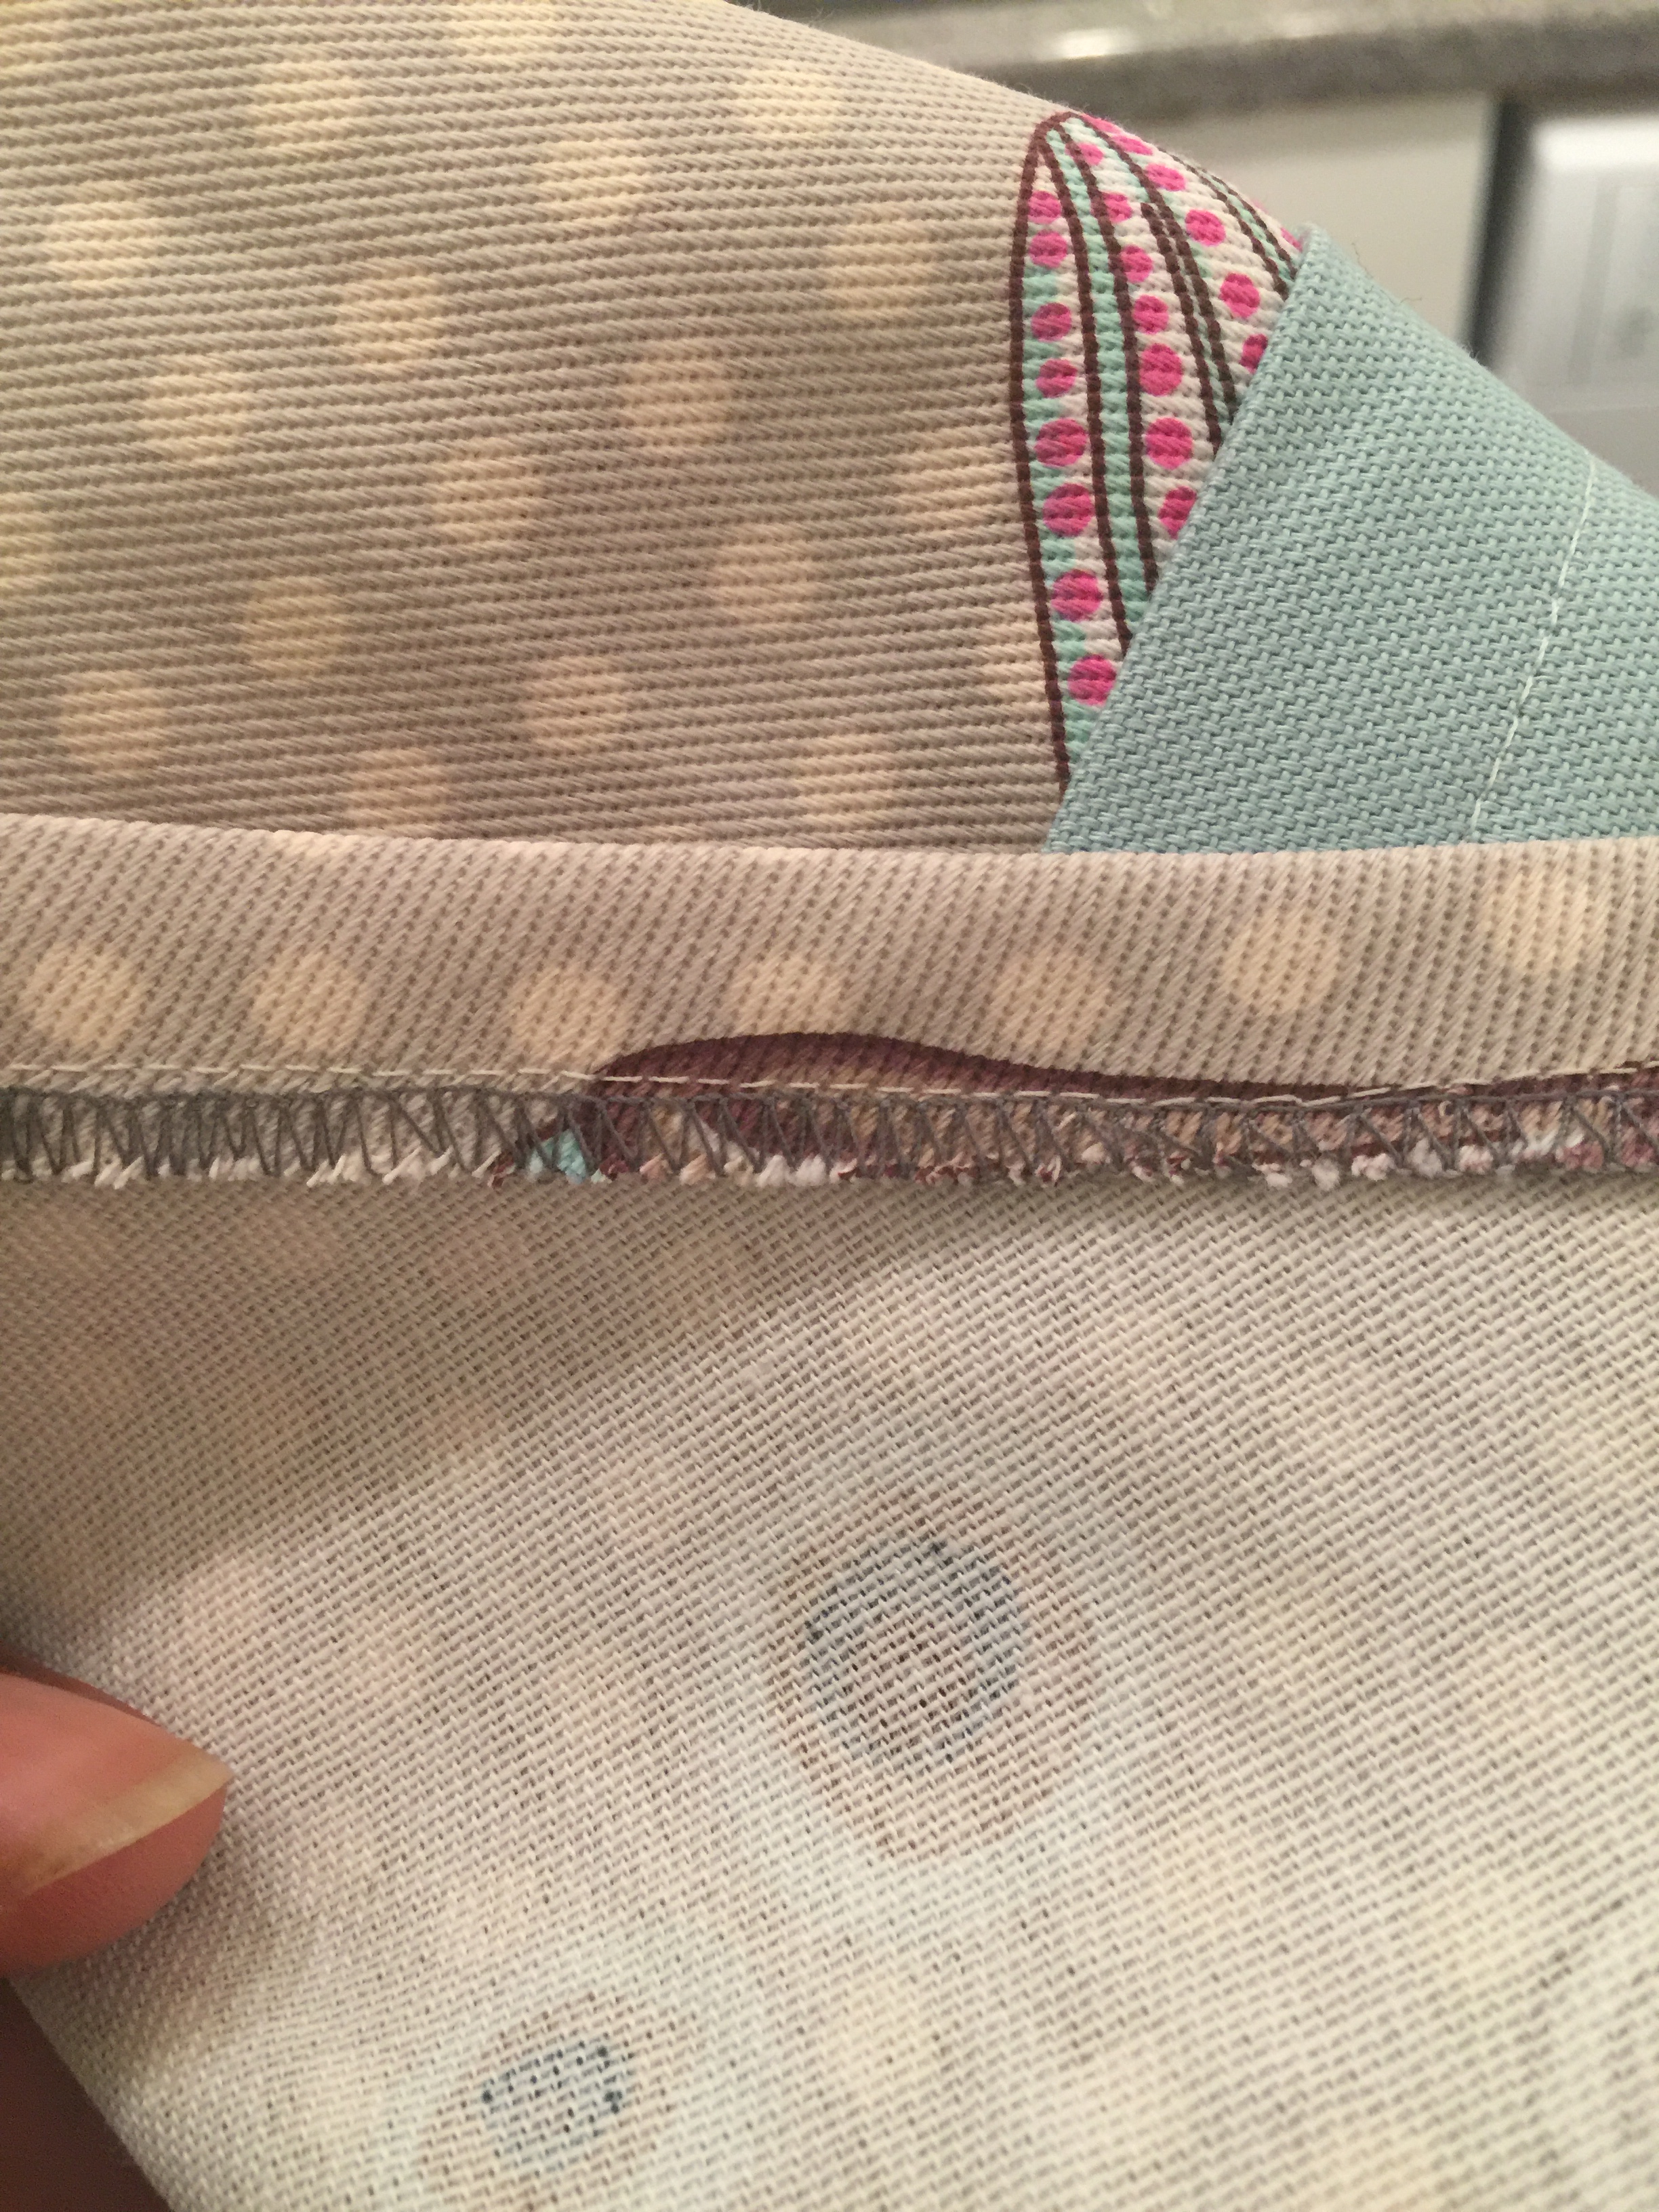
My brain was still getting to grips with all of the skills required to make this new project, so adding on the additional chore of memorising each step AND trying to get each step done as perfectly as I could led to many mistakes and the inevitable use of my best friend (the seam unpicker). Note to self – go easy with the seam unpicker, otherwise it leads to rips/tears in the fabric where rips/tears are not welcome.

THANKFULLY, the small tear occurred on the inside of the overlapping fabric that covers the end of the pillow, so I did a quick patch job to ensure that it didn’t turn into a major issue. I let my mum know about my slight error and she was very understanding, reassuring me that it didn’t matter and that she would be happy to accept ANYTHING that I made (oh, a mother’s love). I really enjoyed making these pillowcases and will make more in the future.

Projects Projects Projects

A collage of my sewing projects in 2017

This is the start of my third week of sewing. So far, I’ve made 3 aprons, 2 cushions, 2 pillowcases and 2 ties. More in the pipeline!

Labour of Love

The process of making two aprons from scratch.

It’s been challenging. It’s been frustrating. I almost gave up…many, many MANY times. I’m happy to say that I persevered and even though I would have liked better results (I expect far too much of myself, I’m working on this flaw) the 2 aprons are finally complete:

I made mistake, after mistake, after mistake. Even right up to the very end of the project, when I thought that I had completed my final apron; I turned it around and noticed that I had stitched one of the apron ties to the main body of the fabric. Gggrrrrrr!!! I had to dig deep and find the strength and will to finish those two aprons. I had a moment (it lasted for 20 minutes) when I contemplated throwing away one of the partially completed aprons. I was desperate, disappointed and fed up beyond belief with myself, my supposed lack of sewing ability, the fabric not doing what I wanted, the sewing machine not doing what I wanted, life being unbearable, blah blah blah…..I was at a low point.

I then pulled myself together (somewhat) and felt absolutely horrified at the thought of WASTING FABRIC!! NO!!! Then I began to wonder if anyone kept a stash of projects that had gone wrong, simply to remind themselves of how hideously something had turned out at the first attempt. Out of curiosity, does anybody out there do this? I am genuinely considering creating a fabric room 101-esque stash of reject projects. I dispelled that idea, because it felt too much like giving up (which I cannot stand to do) and that’s when I formed a new relationship with my ‘unpicker’. It turns out that this bad girl was the best £1.25 I’ve ever spent:

IMG_2886
My best friend: the fabric unpicker

Those 2 aprons had me unpicking like I’d never unpicked before, as though my life depended on it. I could easily call myself a master unpicker. If you need stitches unpicking, I’m your girl. I essentially more than doubled the time needed to complete both aprons, because I had to unpick the majority of my work. What I can say is that this experience has taught me never to be afraid of unpicking. This might sound strange, but I had this idea that every stitch I made HAD to be perfect FIRST TIME. That the calibre of sewist was directly proportionate to the number of times you made a perfect project. Now I know that thought was completely ridiculous, because there is no perfect project and there will always be mistakes.

I should never be afraid to unpick stitches that are not correct, because as I have experienced, it can be the difference between completing a project that I am proud of and binning a project altogether. These 2 aprons will always be remembered as my first sewing labour of love. They taught me patience, the importance of paying attention to detail, the art of taking my time and they also showed me the full extent of my love for sewing. They are going off to wonderful homes where I am know that the love and appreciation for these handmade treasures will far outweigh the love, care and hard work that went into making them.

I have now made 5 projects in the 13 days since my sewing adventure began. I have already compiled a list of projects that I wish to complete. I am really itching to start making clothes and I must admit that in the early hours of the night when my insomnia had firmly taken hold, I started to peruse blogs of other sewists whose sewing skills I greatly admire. One particular blogger had made ‘The Bettine’ dress from a pattern by Tilly and the Buttons. I love the style and the pattern is ‘easy,’ so a great first garment for me to make.

I am currently awaiting the pattern’s arrival and it will be one of the projects I will start in the next few weeks. I am very excited to see how it turns out. Shout out to Emily, writer of the blog, ‘Self Assembly Required’ for posting about her experience using this pattern. It definitely helped me to find my first garment pattern. While I wait for ‘The Bettine’ pattern to arrive, I will start on my next project: pillowcases. I am anticipating that they will be simpler to complete than the aprons and provide a much needed break from my ‘best friend’ the unpicker. It has been said that absence makes the heart grow fonder…

First Unsupervised Project

My experience sewing solo. No workshops, just me at home with my sewing machine.

A few days ago, I started and completed my first unsupervised project. It was another ‘envelope’ back cushion and the results were not too shabby. I could easily pick apart (pun intended) my project and be really hard on myself, but I will resist the temptation to do so. I have to be realistic: it’s my third EVER sewing project, it’s my first ever time following the instructions and creating it by myself, PLUS I finished it within 3 hours. I’m very proud. Here is the finished product:

IMG_2864
‘Envelope’ back

My mum will be the lucky recipient of this cushion, along with my one of the items of my next project that I’ll start today, which is 2 aprons. For the aprons, I have had to create a pattern using the original, completed project, as I was not provided with the dimensions for the material. This has meant pushing myself further and taking the initiative to start learning more sewing skills. I’m very excited for where this will take me in terms of upcoming projects (pillowcases followed by a simple gathered skirt, perhaps).

Remember when I wrote about my unsuccessful use of the overlock stitch on the sewing machine, during my first unsupervised sew, which prompted the purchase of the overlocker? Well, I have to admit that I am now very happy with my decision to purchase the overlocker. An expense that I could perhaps have done without, however the results are brilliant. See for yourself:

IMG_2862

Now that I have proved to myself that I can really sew, that it’s not just a fluke that occurs when I’m in a sewing class, I am ready to start the next project. I’ll let you know how it goes. My sewing adventure continues.

Overlocker Arrival

The unboxing of my new overlocker.

The overlocker has arrived. My thoughts: ‘What a complicated looking machine.’ It has come ready threaded, which I am extremely thankful for because threading that machine is the last thing I need. I just want to crack on with my sewing. I’m really eager to get going as I’ve really missed my time away from the sewing machine (is that a normal feeling??). I will give the instruction booklet a quick read and I may even watch parts of the instruction DVD. What are weekends for, if not to get to know your overlocker better?

My overlocker of choice is a Brother 1034D. The online reviews were quite good but I must admit that the deciding factor was the price. I get married in 4 months time and with a wedding to finish paying off for, I am barely justifying my sewing purchases. My motto is ‘A happy wife-to-be makes for a happy life with me.’ If I were to go on looks, which is all that this newbie can really go on, this overlocker appears to be able to do the job. When the time comes to eventually re-thread, the clearly marked, color-coded pathway of arrows should make it a relatively simple task. Here are some photos of the new arrival:

IMG_2851
IMG_2850
IMG_2855

Just like the sewing machine, it was well packaged in order to avoid any damage in transit. I also received an instruction manual, warranty and instruction DVD. Plus, a bag filled with various accessories that I cannot name for lack of adequate knowledge, and I don’t imagine I’ll be using them any time soon:

IMG_2854
Instruction manual, warranty and instruction DVD
IMG_2852
Goodie bag
IMG_2853
Foot pedal

Overall, I am impressed with the product so far. I definitely intend to get my money’s worth. There are sessions running at various venues in my local area that enable you to bring in your overlocker and get advice on how to use it. If I struggle to get to grips with the main functions of the overlocker then at least I have a backup plan, but that shouldn’t be necessary. I’m hoping to learn as I go along. Sigh…being a complete novice can be excruciatingly painful and frustrating – I just want to fast forward past this stage, but I know I’ll get the hang of this eventually. Enough procrastination, it’s time to sew. Fingers crossed, my next post will be another completed project.

SewingStuff4

Unsupervised Sewing

Trying the overlocker for the first time and seeing the results.

Basic sewing kit: Check!

Sewing machine: Check!

Fabric and accessories required for projects: Check!

Skills required to complete the projects: Lacking….

…Or perhaps that’s just what it feels like going it alone for the first time. So far, I’ve been working under the guidance of experienced tutors in a really supportive environment. It’s only normal that I would encounter problems when sewing unsupervised for the first time. This is the logical part of me reasoning with myself in hindsight. At the time, I was very frustrated, to say the least. I had started my first project, the cushion, and had gotten to the part where I needed to overlock two sides. I do not own an overlocker and had made sure to obtain advice on how to ensure the edges of the fabric did not fray. I was shown on the sewing machine I eventually purchased how to use an overlocking stitch on the fabric. I felt confident that I could achieve the same result at home. I was aware that it would not be as pristine a look but that it would do the job. Well…see for your self:

Attempt number 1:IMG_2843

Attempt number 2, which turned into a practice when I realised I’d messed it up again:

IMG_2844
Attempt number 2

There were multiple attempts that followed, but none of them much better (some much worse) than the examples shown above. After spending an inordinate amount of time trying to perfect my skill with the overlocking stitch, I decided that enough was enough. I would buy an overlocker. The results when using one were so much better:

IMG_2845
Results using an overlocker

This really made me disappointed in myself, because it felt like the classic case of the newbie who enthusiastically purchased everything. It still feels that way. SO much so that 3 days after this frustrating defeat, I’ve not picked up my sewing where I left off. My overlocker arrived today and I couldn’t even bear to open it. Having read through my earlier posts, it has given me the push I need to continue and reminded me that there will be moments in my sewing journey that I find challenging. However, I must persevere. In any case, the overlocker has now been purchased and if it helps to remove a barrier that has stopped me from sewing for 3 days, then so be it. Judge as you wish! I’ve grown accustomed to using an overlocker and it would have eventually been purchased at some point.

I have been researching beginner’s dressmaking and sewing courses in my local area and have come across one that starts in April that will enable me to learn and practice the basics. Overlocking stitch, you may have won the battle, but you will not win the war! I’m taking the easier way out for now to avoid discouraging myself any further, but I will continue to practice the overlocking stitch on the sewing machine. I know it will come in handy one day. In my opinion, if I can’t get the basics right then I’ll struggle to advance. Fancy machines can only get me so far. Tomorrow, I will continue my project and also find out what’s waiting for me inside this box:

IMG_2847
The boxed overlocker

My Second Project

My second sewing workshop attended and my second project completed.

I was apprehensive about attending the second class. The first time, I made an ‘envelope’ back cushion. This time, I would be making an apron. I might as well have set myself the task of making a jacket from scratch, because that’s how daunted I was about this next project. I wanted a challenge, but I was starting to think that my second project should have been to make a cushion with a zip. Building on the foundations of what I had learned days earlier may have been the better option, but no. When I arrived at the class, I happened to be the only person attending which meant that I got 1:1 tuition. I used this time in order to ask advice about sewing machines and was given the opportunity to use a Juki HZL-353ZR-A for the duration of the class, in order to test the machine and see how I got on with using it.

Much like the first class I attended, it was amazing. All I could think about was completing my project (no stress or anxiety related to any external factors) and I became even more determined to progress with sewing. I made some mistakes along the way, but I easily rectified them, sometimes with guidance and sometimes by using my own common-sense and initiative. As you can see from the photos, I completed the project: an apron with adjustable tie and usable pocket:

IMG_2819
My second project: Too precious for me to ‘use’ just yet.

I was so inspired by my achievement that I decided to purchase a sewing machine (the Juki HZL-353ZR-A I had been using throughout the class) and immediately went to Anglia Furnishing Fabrics and Anglia Fashion Fabrics. Both shops are across the road from one another and enabled me to purchase the resources I needed for the new sewing machine, along with fabric and accessories to start my own projects at home. I was clueless about the length of fabric I required and even the types of fabric I should use, in order to create another cushion and two more aprons. Despite this, the ladies in both shops were patient and helpful, even giving me some much needed tips. I left the sewing class feeling very proud of myself and I was inspired to continue sewing. I felt as though I really was capable of getting better and completing more projects. I also left having found the missing piece to my puzzle; a sewing machine, or ‘My Little Juki’ as it is now affectionately called.

IMG_2818
My new purchase – someone remind me that I’m still paying for a wedding!

I have booked another class for a week’s time to create a third project. In the meantime, I will get to work solidifying and practicing the skills I have already learned, only this time I’ll be doing it without supervision. Wish me luck!

Design a site like this with WordPress.com
Get started